Gear Care · Boots
How to Break In Leather Boots Without Blisters
Full-grain leather rewards patience and punishes shortcuts. Here's the conditioning and wear schedule that gets a stiff boot trail-ready without sacrificing your heels to do it.
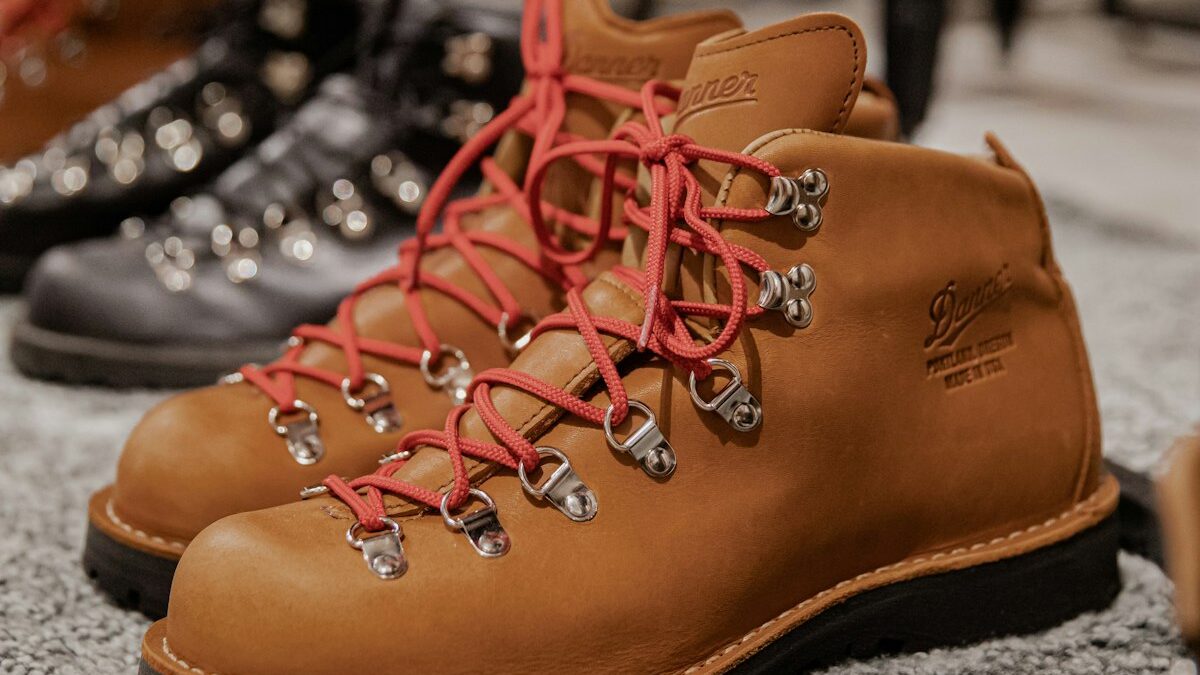
Every few months someone writes to us with the same story: a new pair of full-grain leather boots, a 10-mile day one week in, and a heel blister bad enough to end the trip early. It's almost never a sizing problem. It's a break-in problem, and leather boots need a different process than the synthetic mesh trail runners most hikers are used to buying.
Synthetic uppers are soft out of the box and stay roughly the same shape for their whole life. Full-grain leather is the opposite: it starts stiff, it's supposed to start stiff, and it slowly molds to your specific foot over real wear. Skip that process and you're hiking in a boot shaped like nobody's foot, which is exactly where blisters come from.
Why Leather Needs a Real Break-In (and Synthetics Mostly Don't)
Full-grain leather is a single, dense layer of hide with the fibers still tightly packed, which is why it's so durable and so stiff when new. As you wear it, the fibers relax and the leather flexes at the points where your foot actually bends — the ball of the foot, mainly, and around the ankle collar. That process can't be rushed with a single long hike; it happens gradually, over roughly 20–40 miles of varied wear for most mid-weight leather boots.
Synthetic and split-leather hybrid boots skip most of this because the materials are already flexible out of the box. If your boots are mesh, suede-and-mesh, or a synthetic upper with leather overlays only at the toe and heel, a lot of what follows still helps but matters less.
Start at Home, Not on the Trail
Wear new leather boots around the house for the first several days, with the socks you actually hike in, for an hour or two at a stretch. This does two things: it starts the leather flexing in low-stakes conditions, and it surfaces any genuine fit problem — a too-narrow toe box, a heel that slips, a tongue that bites — while you can still return the boots instead of discovering it eight miles from the trailhead.
After the house-wearing stage, move to short real-world walks: errands, a walk around the neighborhood, nothing over an hour. You're looking for any hot spot that shows up consistently in the same place, which tells you where to focus the next stage.
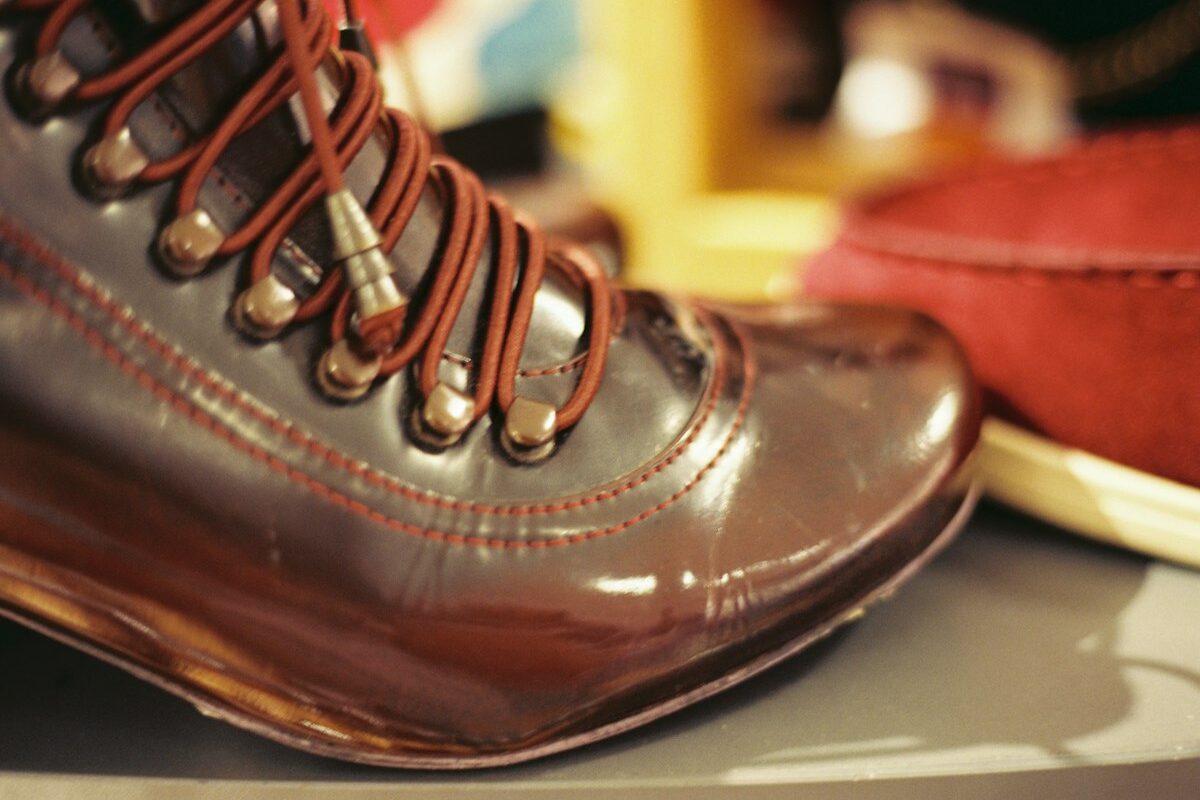
Condition Before You Flex
Dry, unconditioned leather flexes less willingly and cracks more easily under repeated bending, so conditioning isn't just about waterproofing — it directly affects how comfortably the leather breaks in. Apply a leather conditioner designed for boots, not a generic shoe polish, working it into the flex points at the ball of the foot and around the ankle especially. Let it fully absorb before wearing the boots again, usually overnight.
Over-conditioning is a real failure mode too: saturating stitched leather with oil-based conditioners can soften the stitching thread and the leather itself past the point of holding structure. Start with a thin coat and reapply only after the boots have dried out from a few wearings, not before every walk.
A Break-In Schedule That Actually Works
- Days 1–3: Wear around the house, 1–2 hours at a stretch, hiking socks on
- Days 4–7: Short outdoor walks, 30–60 minutes, flat ground
- Week 2: Longer walks or an easy 3–5 mile hike with a light pack
- Week 3: A moderate 6–8 mile hike with your actual trip-weight pack
- Week 4+: Full-length day hikes; boots should feel settled by now
If you've got less than four weeks before a trip, compress this schedule but don't skip stages — the house-wearing and short-walk stages matter more per hour than the longer hikes do, because that's when you catch fit problems cheaply.
Sock Strategy and Hot Spot Triage
A midweight merino wool hiking sock does more for blister prevention during break-in than almost anything else on this list, because wool manages moisture and reduces friction in a way cotton simply doesn't. Some hikers add a thin liner sock underneath during the break-in period specifically, since the friction then happens between the two sock layers instead of between sock and skin.
The moment you feel a hot spot forming — not after it's already a blister, the moment it starts — stop and apply a piece of moleskin or a blister-specific patch directly over the spot, smoothed flat with no wrinkles. Waiting until the blister forms to treat it means you're now managing an injury instead of preventing one, and the rest of the hike changes because of it.
What to Use on the Leather
For most smooth full-grain leather boots, a wax-based conditioner like Obenauf's Heavy Duty LP strikes a reasonable balance between flexibility and water resistance, applied sparingly every few trips rather than before every outing. If your boots see consistent wet conditions, a beeswax-based product like Sno-Seal adds more waterproofing at some cost to breathability, which matters less in cold, wet climates than it does somewhere hot and dry. Nubuck and suede boots need a different, spray-on treatment rather than a wax or oil conditioner, since those saturate and darken the nap.
When a Boot Is Broken In vs. When It's Just Worn Out
A properly broken-in leather boot still has structure — it supports your ankle and holds its shape, it's just flexing at the right points instead of fighting you. A boot that's lost its structure (soft everywhere, no resistance in the midsole, visible creasing through the sidewall) isn't broken in, it's breaking down, and no amount of conditioner reverses that. If a boot that used to feel supportive suddenly feels sloppy, that's a sign the midsole has compressed past its useful life, not a sign you finally broke it in.
If You're Already Blistered
Clean the area, don't pop an intact blister unless it's large and under pressure, and if you do need to drain one, do it with a sterilized needle and leave the skin in place as a natural bandage rather than tearing it off. Cover with a blister-specific pad, switch to a thicker sock if you have one, and loosen or re-lace the boot to shift pressure off the spot for the rest of the trip. The real fix is backing off the break-in schedule a stage and giving the leather and your feet more time before the next long day.